¶ User Manual: Setting Up a VoIP Account on Zoiper for Windows and Mac
Download and install Zoiper from the Zoiper official website .
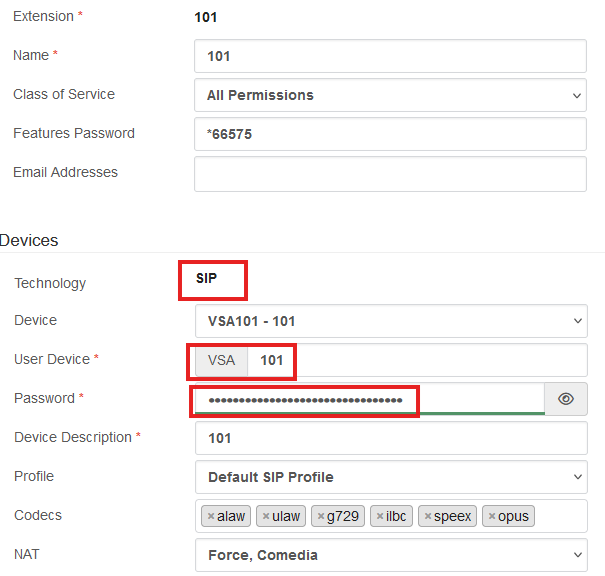
Example SIP details:
Server/Proxy: jnb1.nppbx.netUsername: VSA101Password: ************
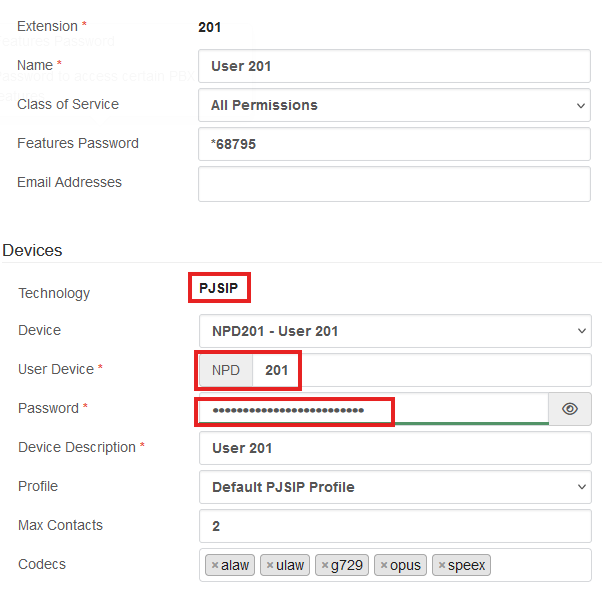
Server/Proxy: jnb1.nppbx.net:5062Username: NPD201Password: ****************
¶ Setting Up VoIP Account on Zoiper for Windows and Mac¶ 1. Download and Install Zoiper
Windows : Go to the Zoiper website and download the Windows version. Run the installer and follow the on-screen instructions.Mac : Download the Mac version from the same Zoiper website . Open the downloaded file and drag the Zoiper icon to the Applications folder.
Open Zoiper from your Start menu (Windows) or Applications folder (Mac).
Click on the gear icon (Settings) and select Accounts .
Click on Add Account .
Choose SIP as the account type.
Enter the following details provided by your VoIP provider:
Account Name : A name for your account (e.g., “Work VoIP”).Host for SIP: jnb1.nppbx.net / Host for PJSIP: jnb1.nppbx.net:5062 Username : Your VoIP User Device username.Password : Your VoIP account password.Authentication Username Your VoIP User Device username..Outbound Proxy: jnb1.nppbx.net
Select the transport type (UDP, TCP, ).
Click Next .
¶ 6. Audio and Video Configuration
Configure your audio devices (microphone and speakers) and test them.
Video settings are not required.
¶ 7. Save and Test
Save your settings and return to the main screen.
Make a test call to ensure everything is working correctly.
If the registration fails, check the server details and ensure no firewall is blocking Zoiper.
Check that you can ping the server jnb1.nppbx.net. if not, find out what the Public IP address the end-user has and share it with Network Platforms Support to check if the IP is not blacklisted on the PBX.
Confirm your internet connection and SIP credentials.