¶ Spam Experts How To Guides
¶ How to Whitelist or Blacklist a Sender in SpamExperts
One of the most common tasks in a spam prevention program is whitelisting and blacklisting email addresses or domains. This helps you customize spam monitoring programs such as SpamExperts to allow or deny specific domains or email addresses.
In this KB article, we will cover how to whitelist or blacklist a sender in the SpamExperts Control Panel.
¶ Manually Train Spam Experts to Identify Spam / Not Spam
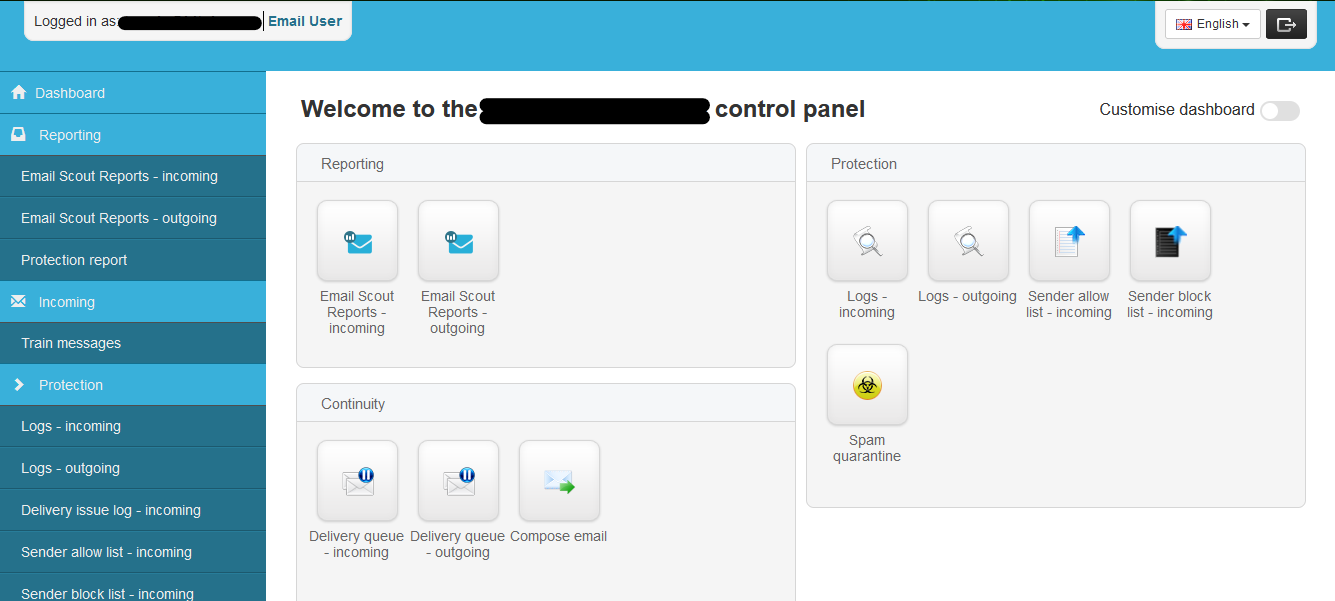
Step 1: Log in to your SpamExperts Dashboard.
Step 2: Select Incoming > Train messages
Step 3: In the Train messages page, drag and drop or browse for and upload messages you want the system to treat differently. Messages can be in .msg, .eml or .txt format only

Step 4: Select whether the message(s) should be recognized as legitimate (false positive) or spam (false negative)
Step 5: Click Continue
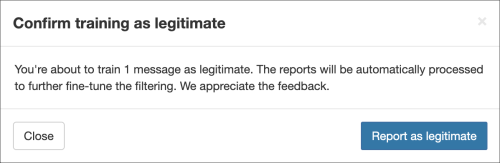
Step 6: You will be asked to confirm you wish to train a message, click Report as spam/Report as legitimate
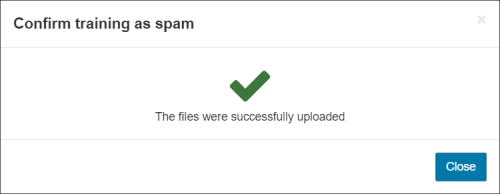
Step 7: Close the confirmation box once you see the file(s) have been successfully uploaded

The emails reported via all methods must be in .msg, .eml (IETF FRC 5322) or .txt format and contain the full unmodified message headers and body
¶ How to Whitelist a Sender in SpamExperts
Step 1: Log in to your SpamExperts Dashboard.

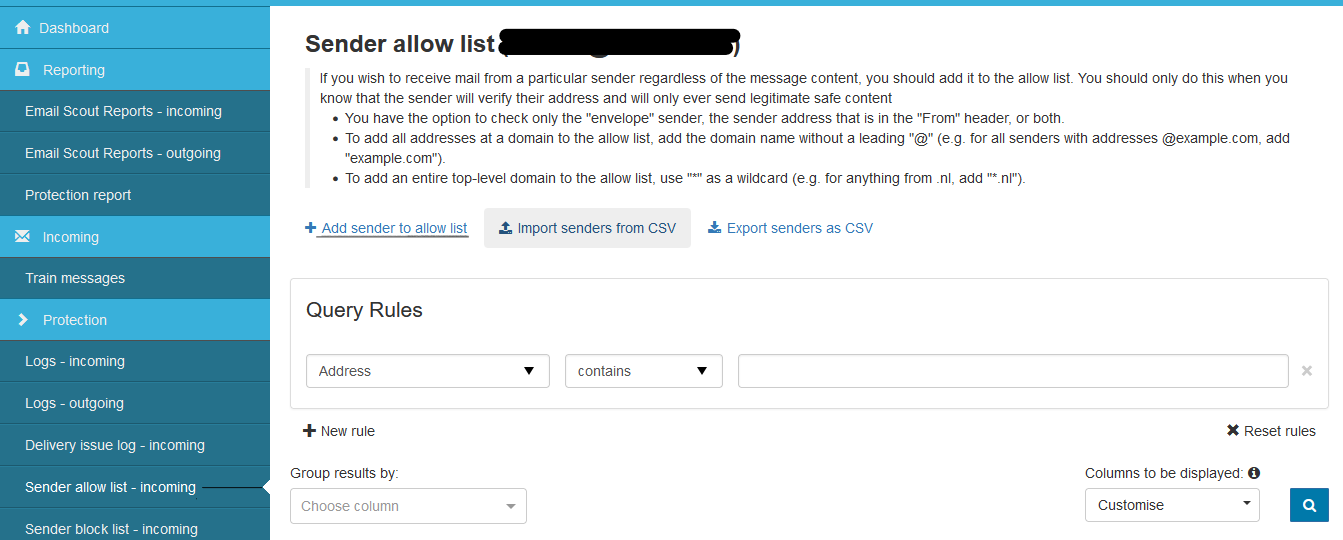
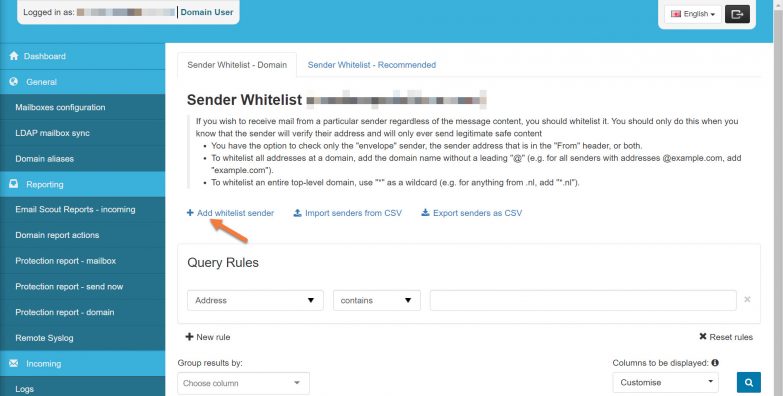
Step 2: Beneath Incoming – Protection Settings, click Sender allow list incoming.
Step 3: Click the link + Add sender to allowlist to open the Whitelist Sender modal.
Step 4: In the whitelist modal, you have a few options. Let’s examine them:
Sender Flag refers to the portion in the headers of the e-mail that will be used to identify the sender for this rule to take effect.
The address is the portion after the @ sign or the domain name.
For our example, we’ll use the following configuration:
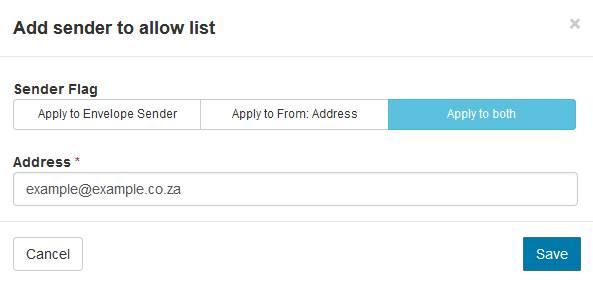
This configuration will whitelist the e-mail example@example.co.za using both the Envelope Sender and From address, giving the best chance for the rule to catch the messages.
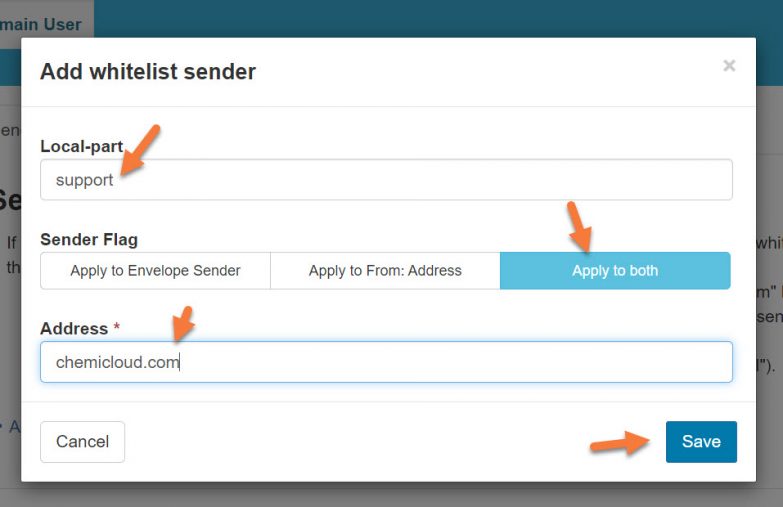
Note, that you do not have to enter an e-mail address only. You can also enter only a domain name and whitelist all mail from that particular domain if you want.
Click Save to save the rule.
Now, when an email from example [ at ] example.co.za is sent to the domain using this SpamExperts configuration, it 100% will be delivered and not caught up in the spam filters.
¶ How to Blacklist a Sender in SpamExperts
Step 1: Log in to your SpamExperts Dashboard.
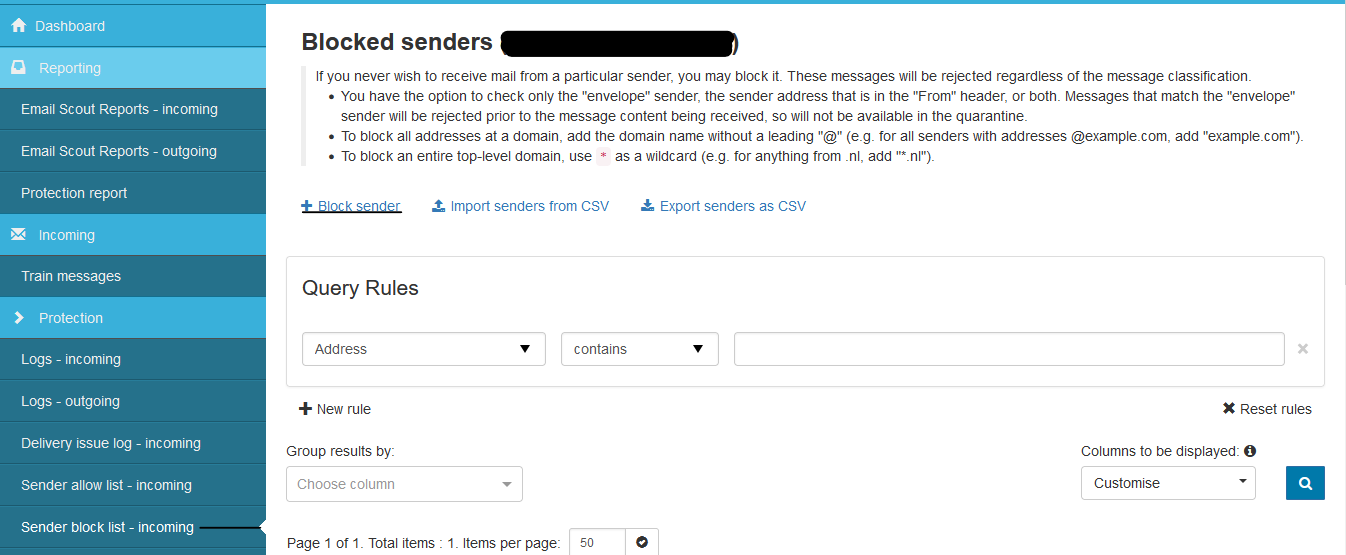
Step 2: Beneath Incoming – Protection Settings, click Sender block list incoming.
Step 3: Click the link + Add Block sender to open the Block sender modal.
Step 4: In the block sender modal, you have a few options. Let’s examine them:
Sender Flag refers to the portion in the headers of the e-mail that will be used to identify the sender for this rule to take effect.
The address is the portion after the @ sign or the domain name.
For our example, we’ll use the following configuration:
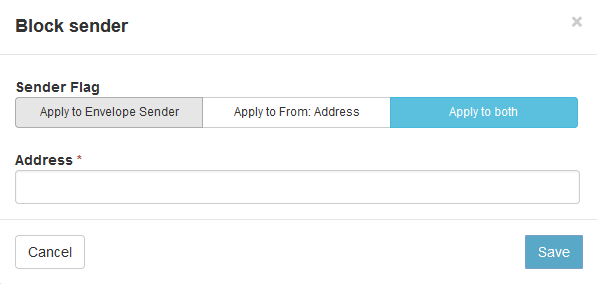
This configuration will block the e-mail example@example.co.za using both the Envelope Sender and From address, giving the best chance for the rule to catch the messages.
Note, that you do not have to enter an e-mail address only. You can also enter only a domain name and blocklist all mail from that particular domain you want.
Click Save to save the rule.
Now, when an email from example [ at ] example.co.za is sent to the domain using this SpamExperts configuration, it 100% will be blocked and not delivered to them.