¶ VPN Clients setup guides
¶ Sophos Connect Client
You can establish remote access SSL VPN connections between your endpoint and your organization's network.
You must download the Sophos Connect client and SSL VPN configuration and import the configuration.
Supported endpoints
You can use the Sophos Connect client to configure the connection on the following endpoints:
- Windows 10 and 11 devices
You can't use the Sophos Connect client to configure the connection on the following endpoints:
- macOS devices
- Linux devices
- Mobile devices
You can use the OpenVPN client for these endpoints.
¶ Download the Sophos Connect client
- Sign in to the user portal with the Credentials that you will have received from Network Platforms Support.
- Go to VPN.

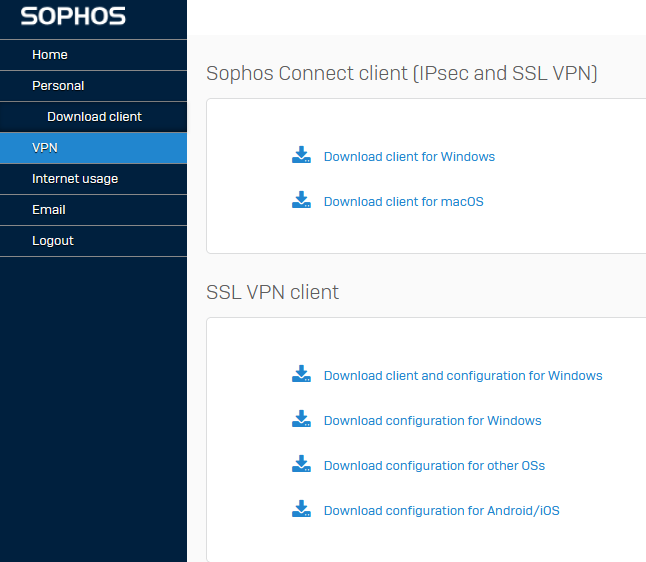
Under Sophos Connect client, click one of the following:
- Download for Windows
Download for macOS

Click the downloaded file to install the Sophos Connect client on your device.
You can see the client on your desktop.
Double-click the client.
You can then see it in the tray in the lower-right corner for Windows and the upper-right corner for macOS devices.

¶ Download the configuration file
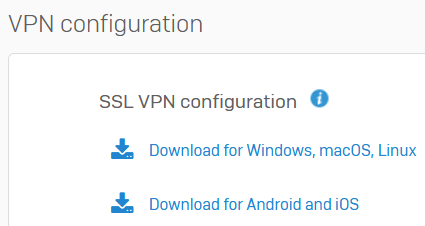
On the user portal, under VPN configuration, click Download configuration for Windows, macOS, Linux.
This downloads a .ovpn file.

Import the configuration file to the client
Click the Sophos Connect client on your endpoint and click Import connection.

Select the .ovpn configuration file you've downloaded.
Here's an example of an imported connection:

Click Connect to sign in.

Enter your user portal username and password.

Enter the verification code if your organization requires two-factor authentication.
- Click Sign in.
¶ Sophos SSL VPN Client
Here is a great step-by-step help article for you or your clients for installing and logging into the Sophos SSL VPN Client.
Step 1: Open your preferred web browser (Ex: Google Chrome)
Step 2: At the top of your browser in the address bar, enter the Sophos User Portal URL.
Step 3: You will get a warning that your connection may not be private. Simply bypass this page by clicking "ADVANCED" and then "Proceed to..."
Step 4: Login with your given user credentials
Step 5: Click "Download Client and Configuration for Windows" and then the download should begin. After the download has finished, double-click it to start the setup.
Step 6: Click "Run" on the Security Warning.
Step 7: once the installer has started click "Next"
Step 8: Read through the license agreement and then click "I Agree"
Step 9: Verify the location of where you want the application to be installed, then click "Install"
Step 10: In the windows security pop-up click "Install"
Step 11: Once the install process has completed click "Next" then "Finish"
Step 12: Now that you have the SSL VPN Client installed you'll now want to establish your connection.
A) Access your hidden tray icons
B) Look for the icon that has 3 squares one of them being red
Step 13: Right-Click the VPN icon and select "Connect"
Step 14: Login with the same Username and Password used in "Step 4"
Step 15: Verify your connection by seeing if the tray icon went from Red to Green
¶ Cisco Anywhere Connect
Using the Cisco Anyconnect client
Download the Secure Client v5.0.03076 for Windows
Unzip the downloaded file and double click Setup
Deselect all other options and have only Core & AnyConnect VPN selected
Click on Install Selected and follow the wizard
Open the AnyConnect client
Click Start and select Cisco Secure Client under recently added programs or Click on the windows serach button next to the Start button and type Cisco Secure Client then open the app.
Type in the server name Which will be assigned to you by NetworkPlatforms Support and click on Connect.
Enter your Active Directory Username and Password and OK to connect