¶ Setting up your Zimbra account
on Zimbra Desktop
Before you can use Zimbra Desktop , you must first enter settings for your existing account. The first time you open Zimbra Desktop you are asked to set up an account. You can set up additional accounts at any time.
Before you begin to set up an account, make sure you are connected to the Internet.
Click Here to download the Zimbra Desktop Client
Double click the install file and follow the prompts.
Run the Zimba Desktop Client

Once installed you will be prompted to enter the Server, you will enter server name: node1-za.mailwhiz.io and continue
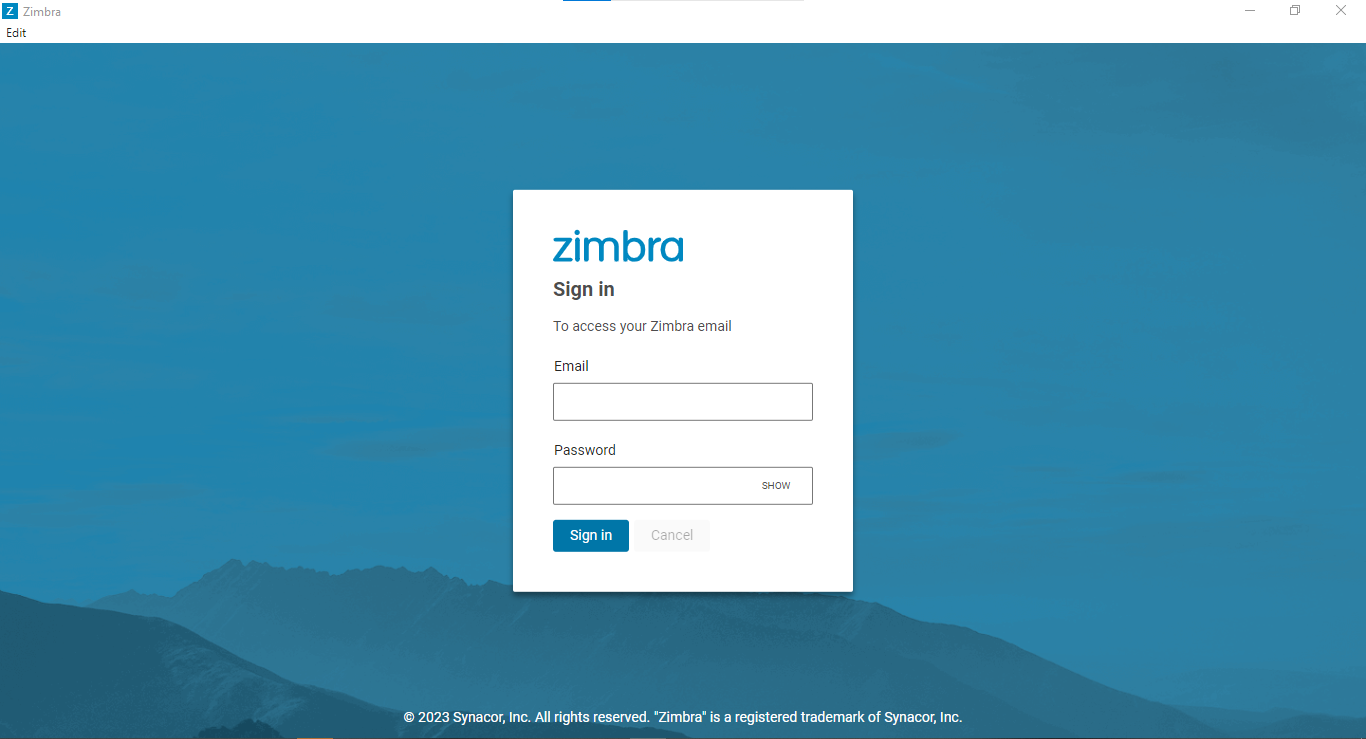
Enter the e-mail username and password you will have received from Network Platforms Support and sign in.
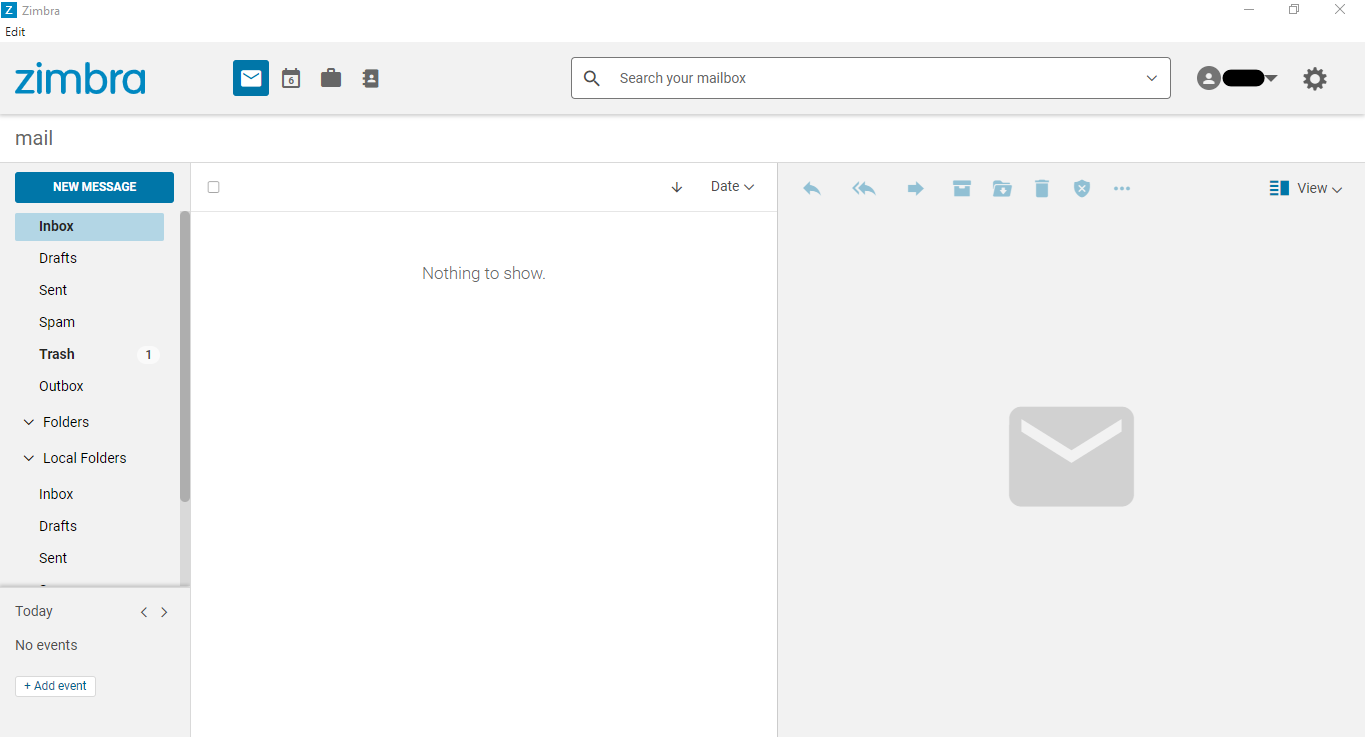
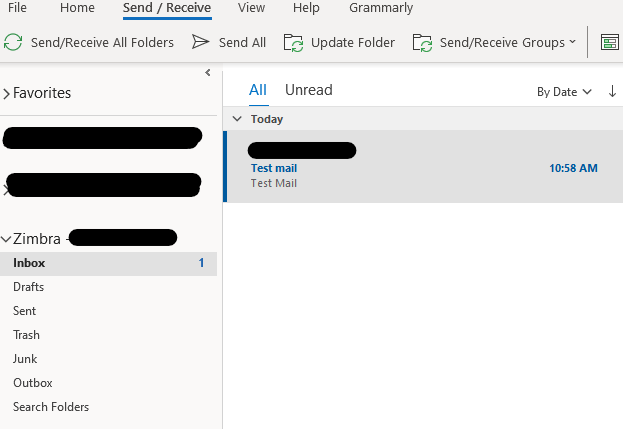
Well Done! you have successfully connected to your mailbox.
Open Zimbra Desktop and in the right top corner, click Setup.
Click ADD NEW ACCOUNT. In the Account Type list, select Zimbra. The Zimbra Account Setup page displays. Enter the following information.
Account Name. This is the name that displays as the account name in Zimbra Desktop. Each account must have a different name. For example, as this is a ZWC account, you could call it Zimbra.
Email Address. Enter your ZWC account email address
Password. Enter the password that you enter to log into your ZWC account.
Incoming Mail Server. Enter node1-za.mailwhiz.io. This is the server that your account is on.
Security. If you always should use an encrypted connection, check Use SSL encryption when accessing this server. If you are uncertain about whether to select this option, contact your system administrator.
From Synchronize Settings, select how often Zimbra Desktop should get data from your account. The default is to check messages and sync as new mail arrives.
If you select manually, you must click Send/Receive on the Zimbra Desktop toolbar to synchronize your account with the Zimbra server.
If you select too short of time, such as 1 minute, your computer’s performance could be impacted.
You can change this setting any time by clicking Setup and editing the account.
When you are finished, click Validate and Save.
Zimbra Desktop validates your account information. If your account is successfully validated, you see the Service Created dialog. If your account is not successfully validated, you are returned to the Account Setup dialog so you can review and make corrections.
To open Desktop, click Launch Desktop. You can start to work in Zimbra Desktop as your accounts are being synchronized.
Setting up Zimbra account on Outlook Desktop app
Click Email → Settings → POP3 & IMAP → Enable access to this account via POP3 and IMAP. Confirm the altered settings by clicking Save and start your external email program.
- Click File → Info → Add account.
The Outlook wizard for setting up a new account will open up.
- Enter an email address to add your account.
- Click on Advanced options and check the box for Let me set up my account manually.
- Click on Connect.
- Choose the account type IMAP.
When IMAP account type is chosen.
The dialog IMAP Account Settings will open up.
- Take the following settings:
- Incoming mail: Enter node1-za.mailwhiz.io with port 993 and check the option This server requires an encrypted connection (SSL/TLS)
- Outgoing mail: Enter node1-za.mailwhiz.io with port 465 an the encryption method SSL/TLS (recommended)
- Click on Next.
A login-dialog will open up.
- Enter your password and click on Connect.
Your account is set up and ready to use. Click on OK to close the wizard.
When POP3 account type is chosen.
The dialog POP Account Settings will open up.
- Take the following settings:
- Incoming mail: Enter node1-za.mailwhiz.io with port 995 and check the option This server requires an encrypted connection (SSL/TLS)
- Outgoing mail: Enter node1-za.mailwhiz.io with port 587 an the encryption method STARTTLS (recommended)
- Click on Next.
A login-dialog will open up.
- Enter your password and click on Connect.
Your account is set up and ready to use. Click on OK to close the wizard.
¶ Zimba Web Client (ZWC)
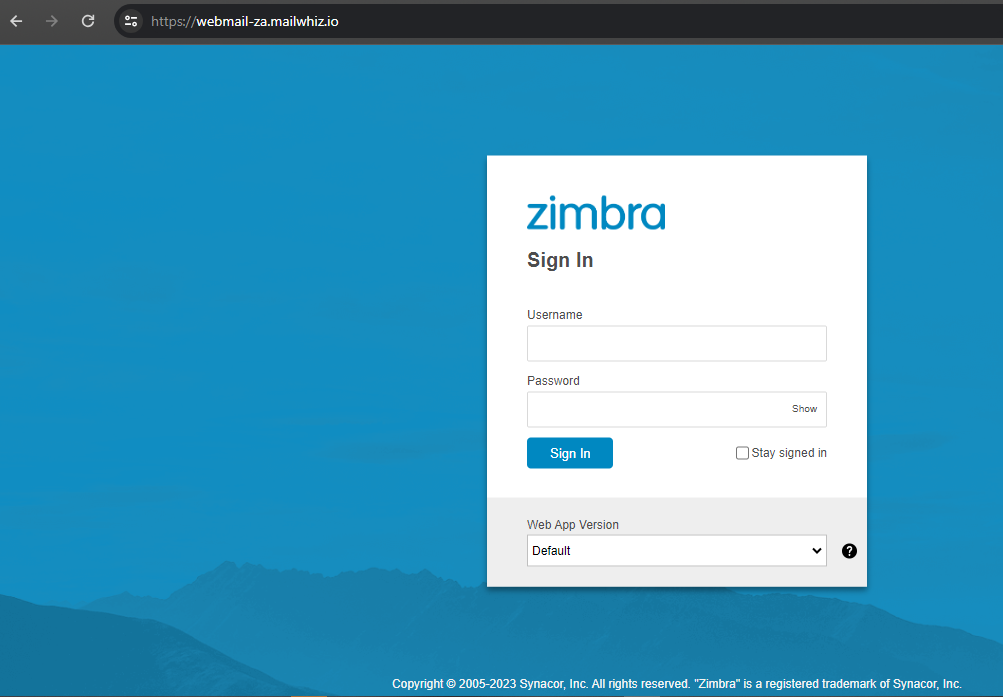
You can also access you E-mail using the Click Here Web client.
insert your ZWC E-mail address and Password and sign in.
Once Signed it your will be entered onto your mailbox.
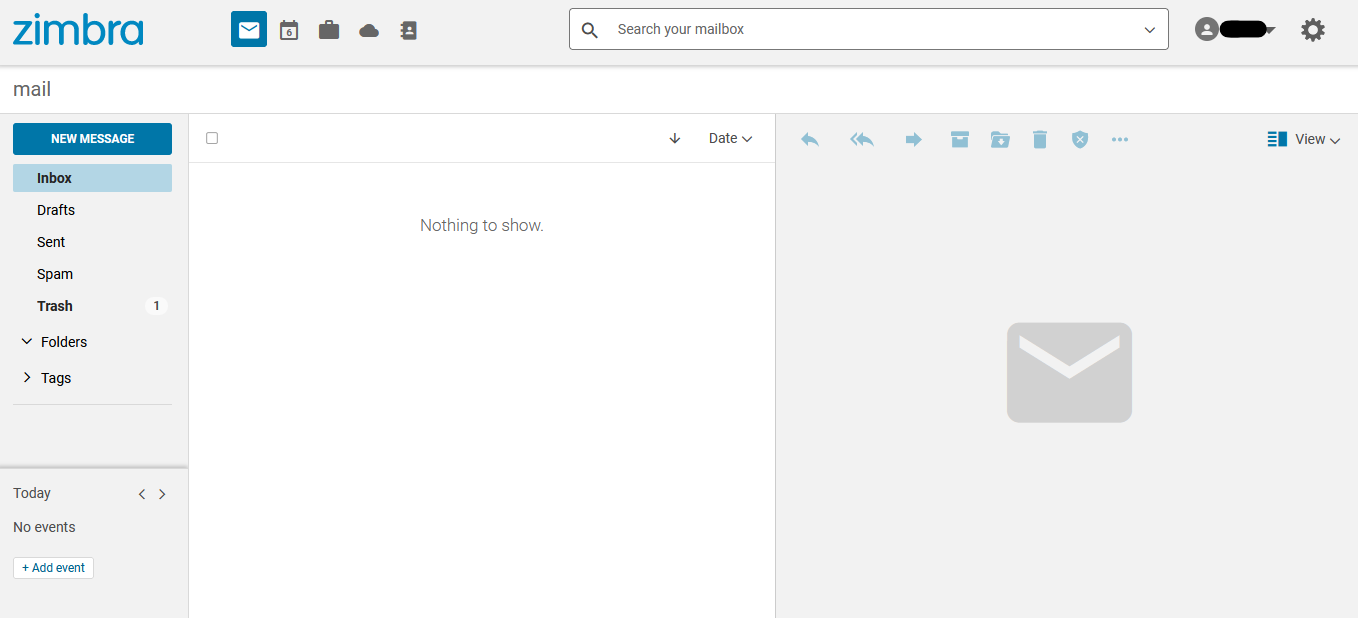
Congratulations! You are successfully logged on to your mailbox.
¶ Zimbra Connector for Outlook
ZCO Download Link - ZCO is supported on the following versions of Microsoft Outlook: Outlook 2019: 32-bit and 64-bit editions of Microsoft Office, including Click to run. Outlook 2016: 32-bit and 64-bit editions of Microsoft Office, including Office365 and Click to run versions
How to Configure the connector.
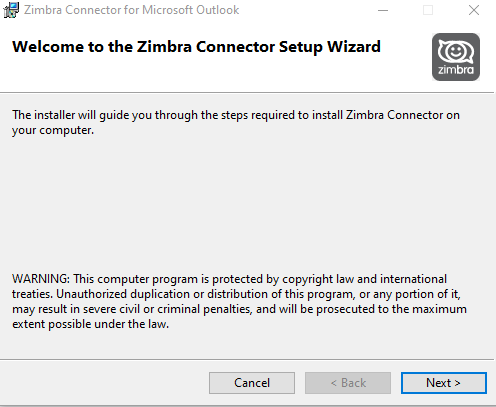
1. Double-click the installation file and follow the setup wizard steps. Click Next.
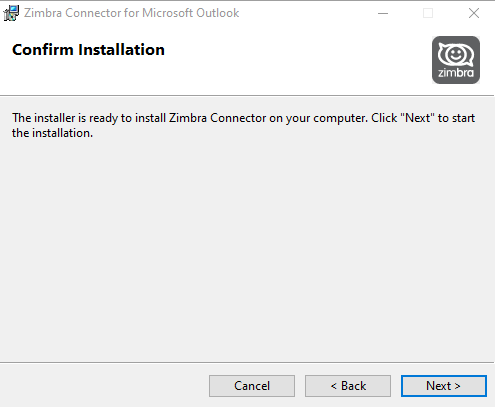
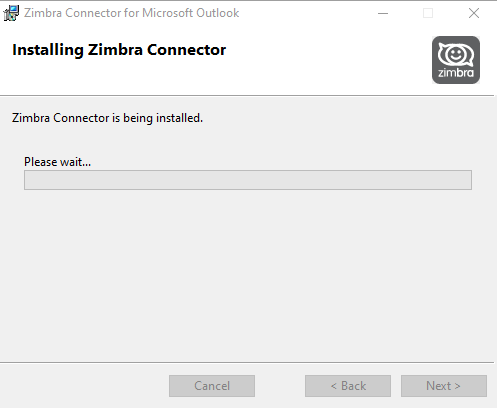
2. Accept the T's and C's and hit Next to confirm the Installation.
3. Make sure that the Outlook app is closed. then hit Next
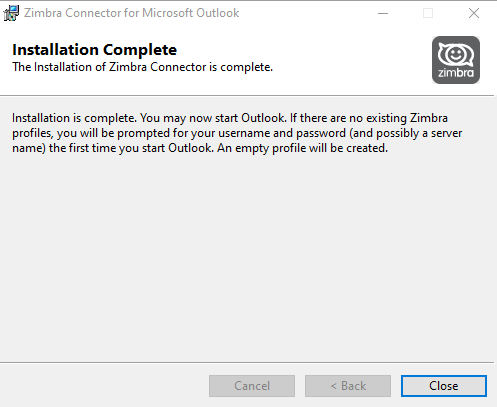
4. Complete the Setup and hit Close.
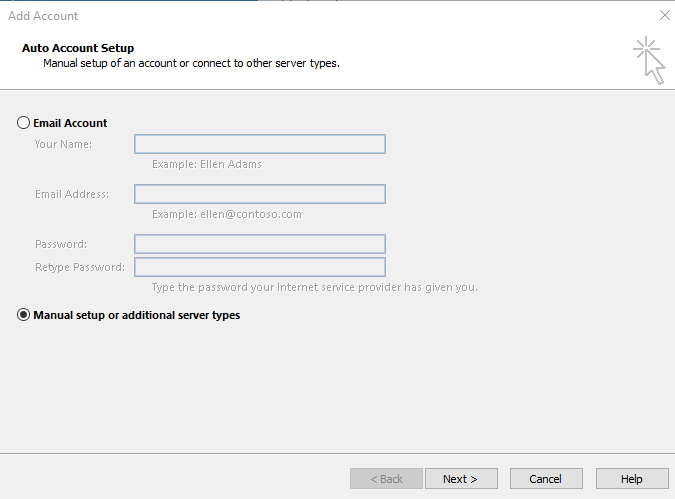
5. Open Outlook and Navigate to File → Add new Account. Select Manual Setup → Next.
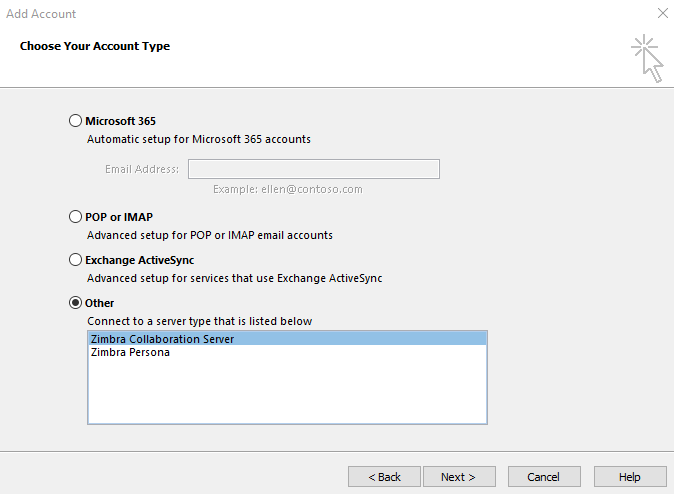
6. Select Other → Zimbra Collaboration Server → Next.
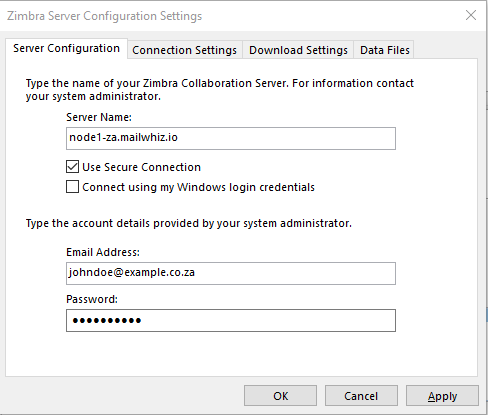
7. Fille in the Server Details → Check the Box “use Secure Connection” → Type the Account details supplied. Apply.
8. You must restart Outlook for these changes to take effect.
9. Congratulations you have successfully added your email account.