¶ Setting up Out Of Office on Office365
¶ Using Outlook Web Access:
- Login to your mailbox by going to portal.office.com or direct via outlook.office.com
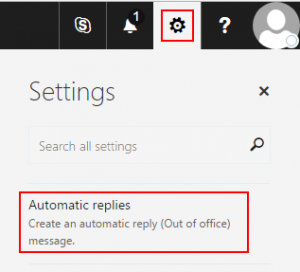
- On the menu bar on the right-hand side, click on the gear icon and then click Automatic Replies (Note: The window can appear two different ways depending on the browser and if the screen is done loading)
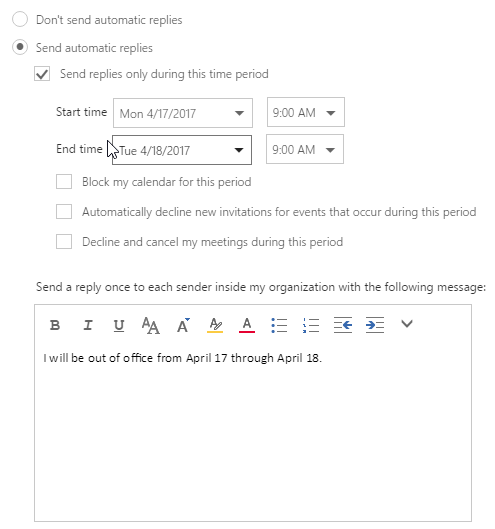
- Select “Send automatic replies”
- Enter in your desired automatic reply message. You can also select “Send replies only during this time period” and set the start and end times if you’d like to set a specific time frame
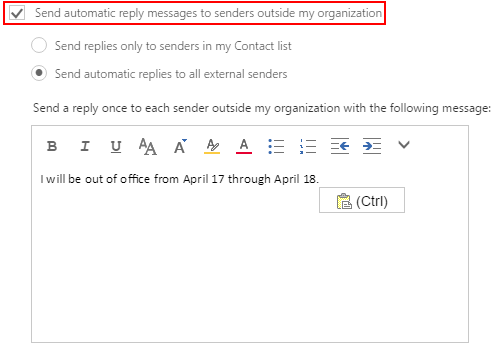
- Optionally, if you would also like your automatic replies to be sent to people outside your organization, select “Send automatic reply messages to senders outside my organization” and then type the response you want to send while you are out of the office.
¶ Outlook for Windows:
- Open Outlook
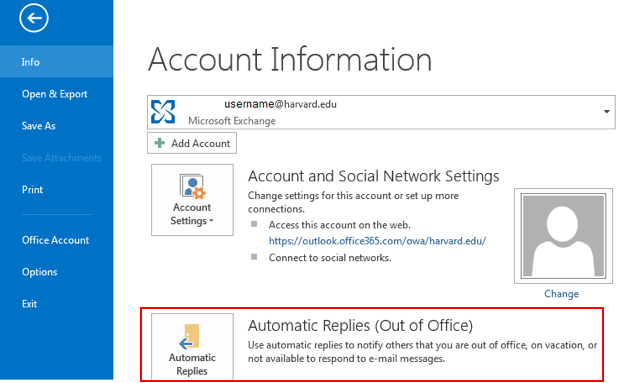
- Click on the File tab in the upper left-hand corner, then select Automatic Replies (Out of Office) on the next screen.
- Select “Send automatic replies”
- Enter in your desired automatic reply message. You can also select “Only send during this time range:” and set your start and end times if you’d like to set a specific time frame.
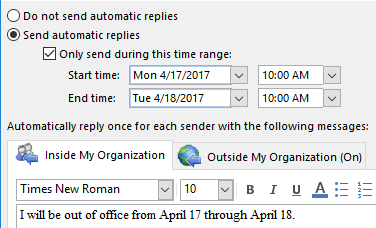
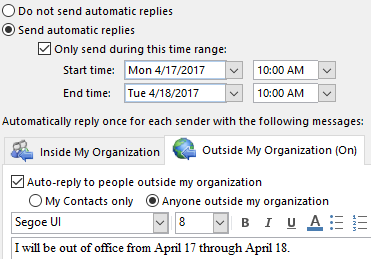
- Optionally, if you’d like your automatic replies to be sent to people outside your organization, select the Outside My Organization (On) tab and then type the response you want to send while you are out of the office.
¶ Outlook for Mac:
- From the Outlook client select Tools -> Out of Office

- Select your account on the left hand side
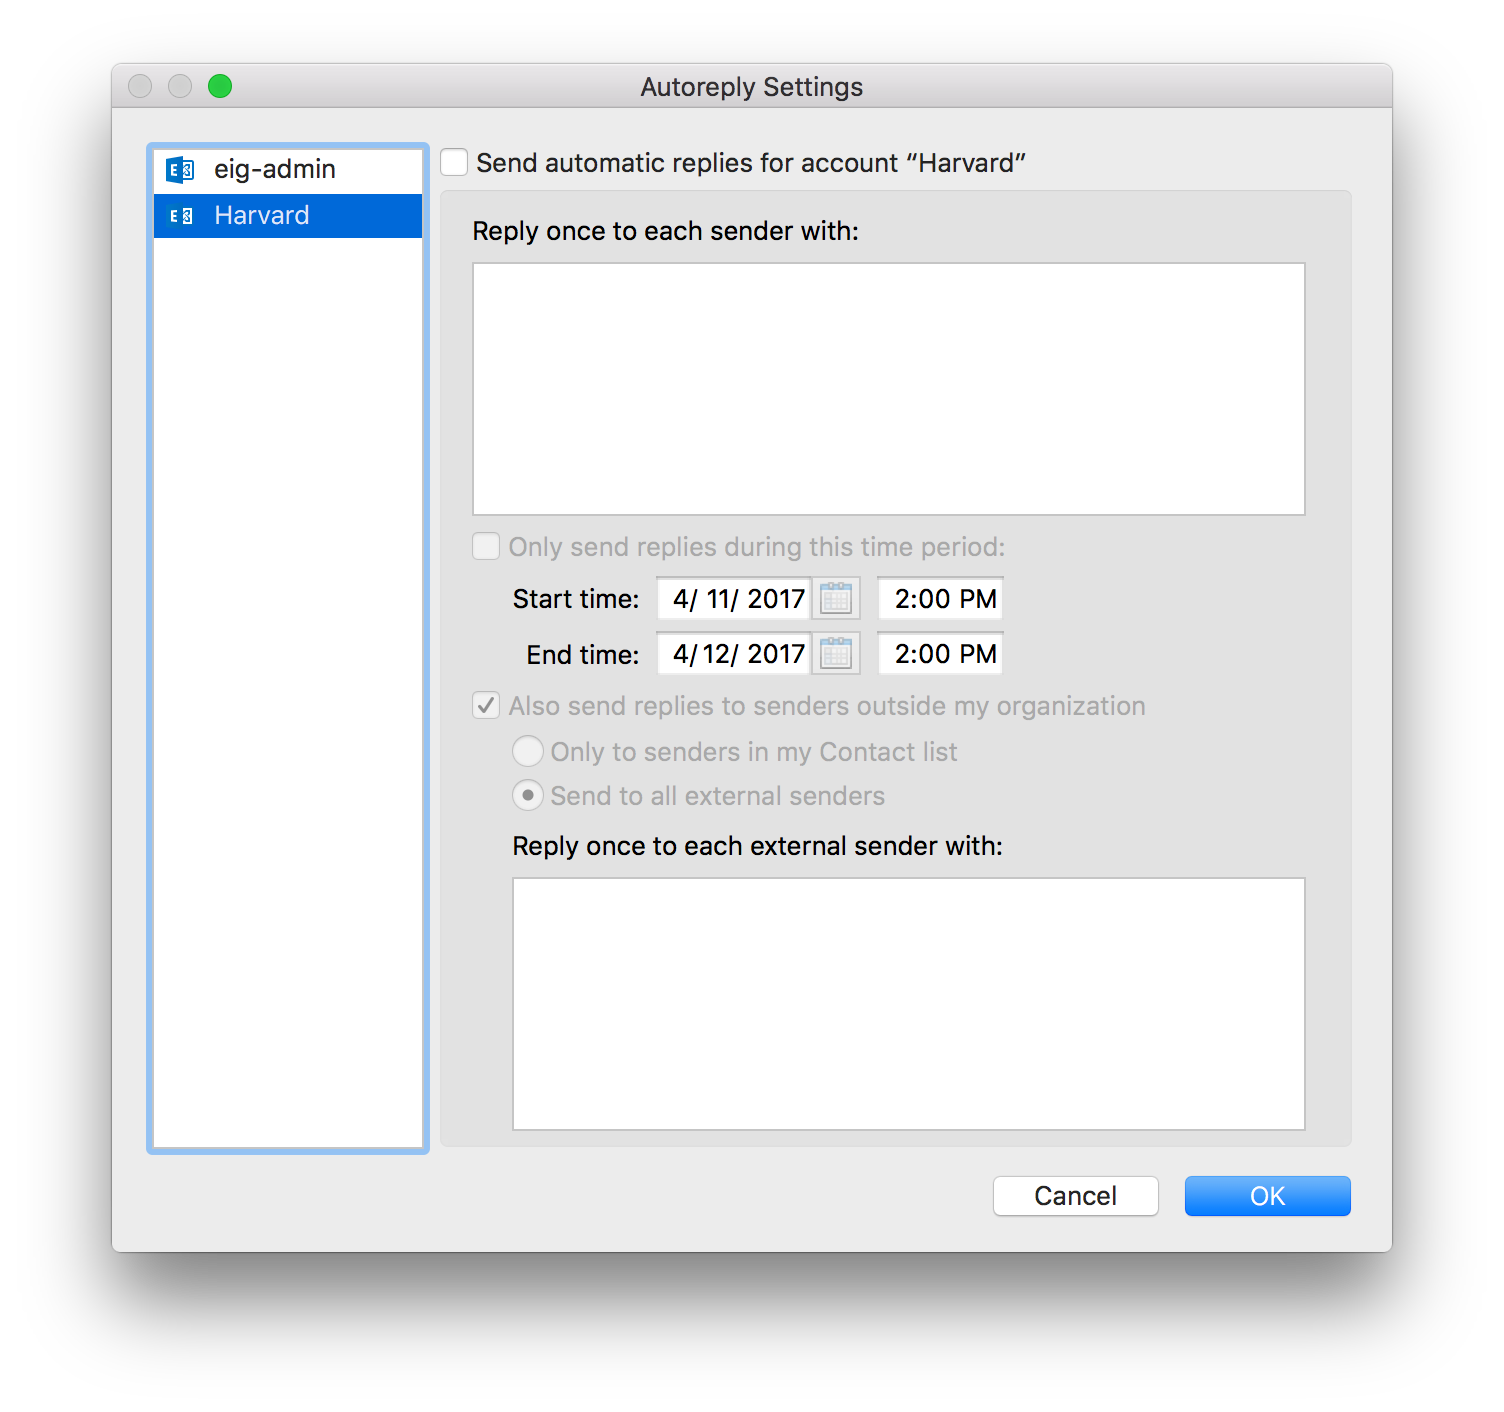
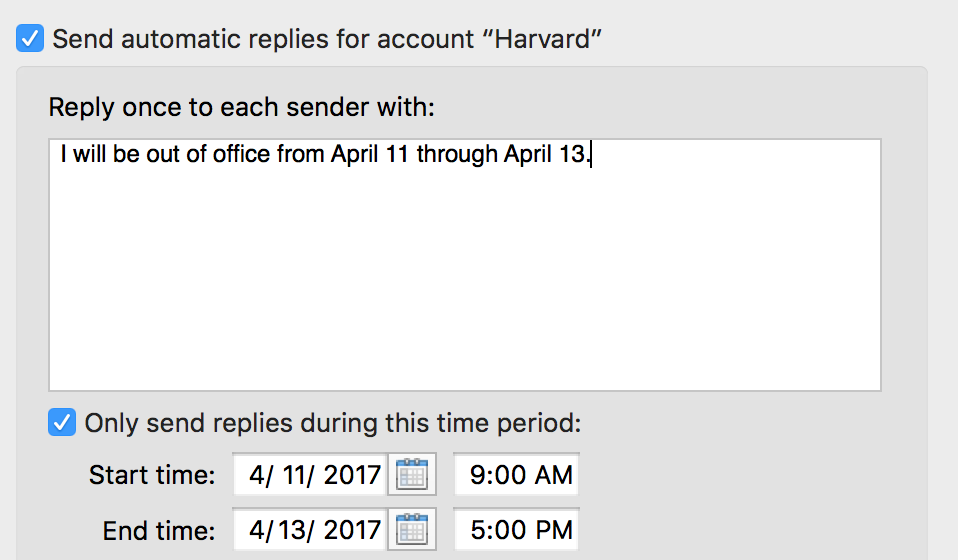
- Check “Send automatic replies for account <account name>”
- Enter in your desired automatic reply message. Select “Only send replies during this time period:” and set the start and end times if you’d like to set a specific time frame.
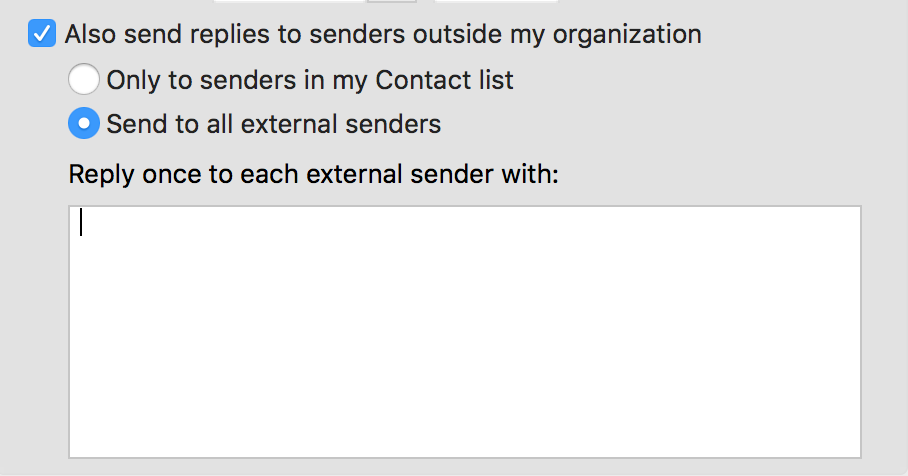
- Optionally, if you’d like your automatic replies to be sent to people outside your organization, select “Also send replies to senders outside my organization” and then type the response you want to send while you are out of the office.
- Click the OK button when finished
¶ How to Setup Out of office - cPanel Hosted Service
1. Go to the webmail access by clicking on this Click Here.
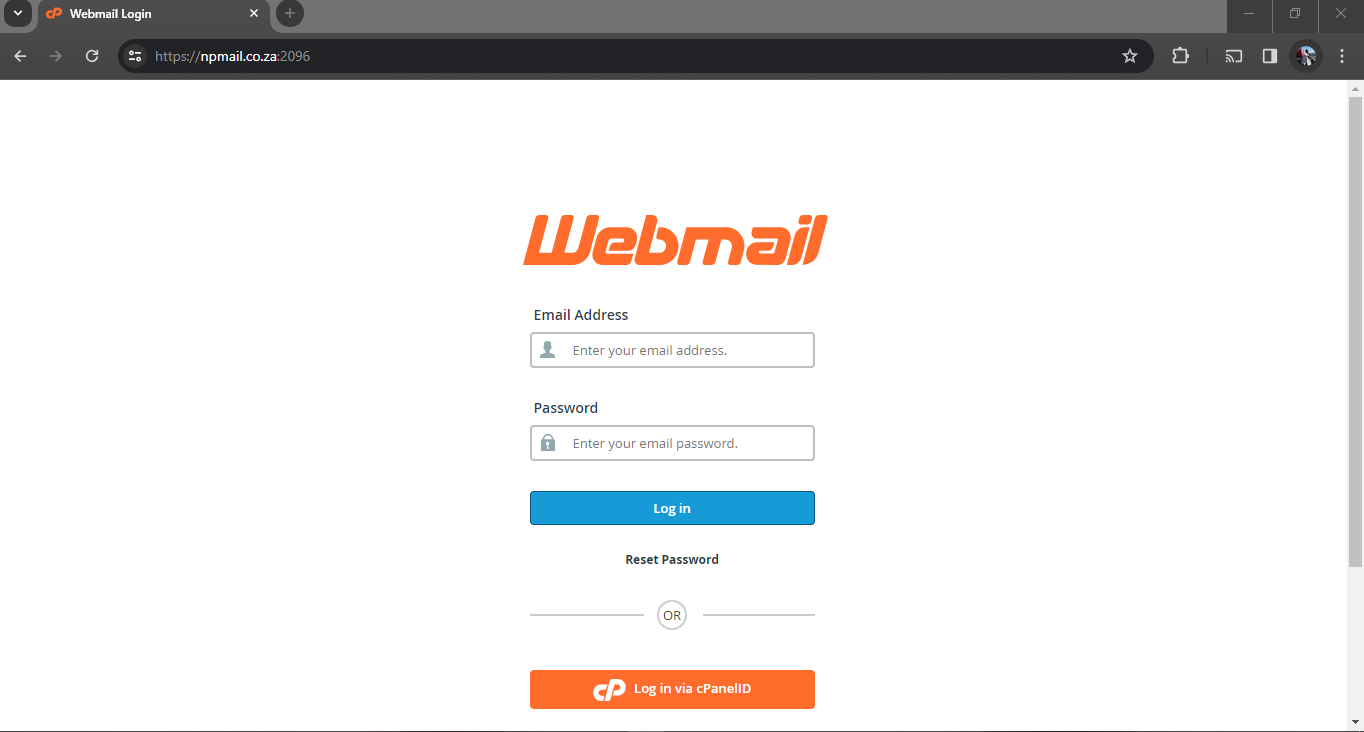
2. Enter your e-mail address and password then Log in.
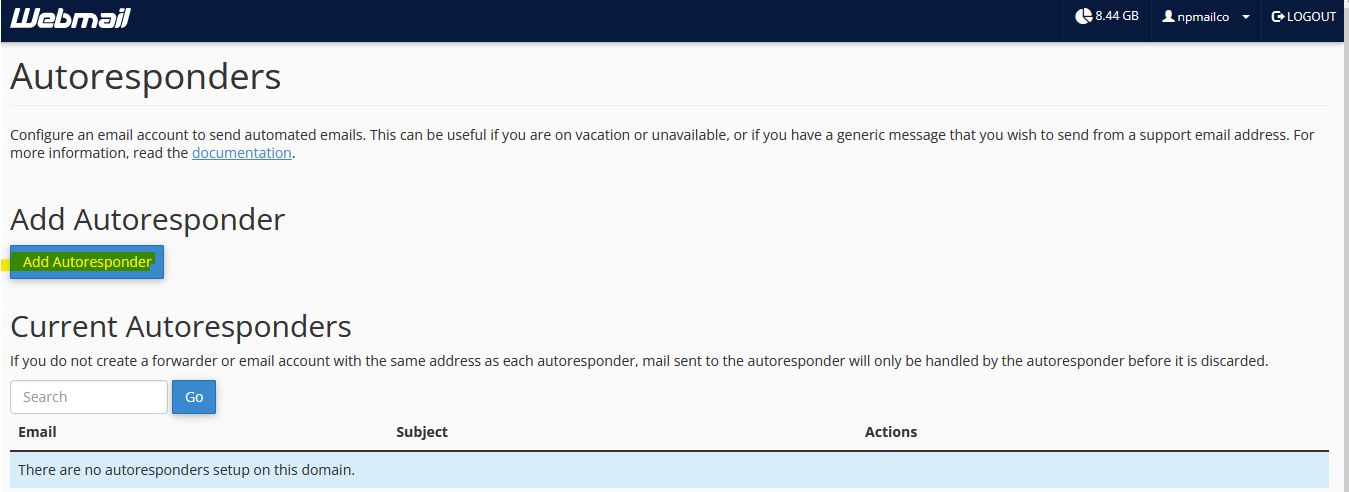
3. Scroll down to Manage Your Inbox → then Select Auto-responders.
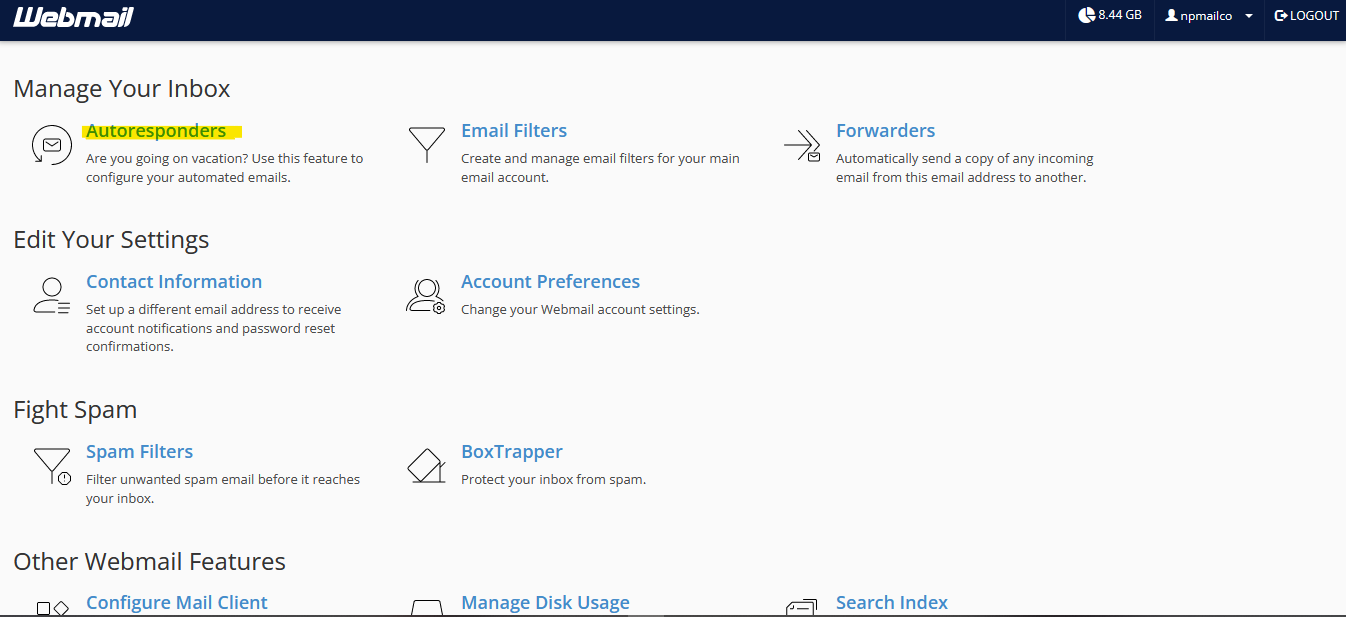
4. Click on Auto-responders → then click add Auto-responder.
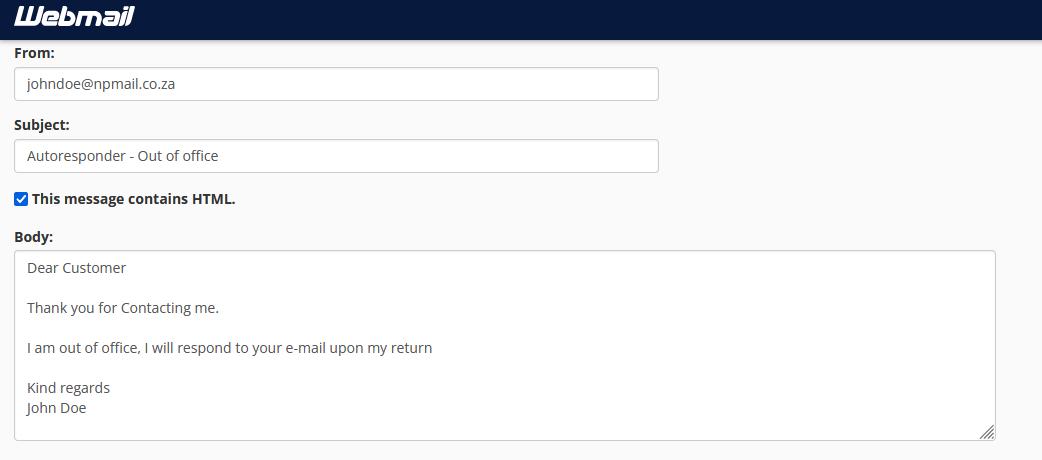
5. Add your Auto-response (out of office)
- Add From E-mail Address
- Add a Subject for your Auto-response
- in the Body add your Auto-response Message.
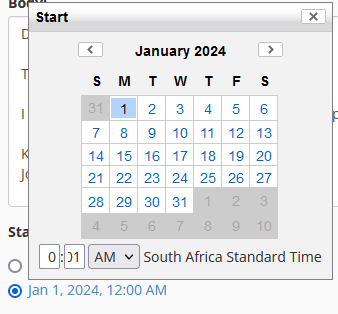
6. add a start now for auto response to start sending immediately.
- add a custom start date/time
7. add a Stop Date/Time Which should be later than the start time (Your date of return).
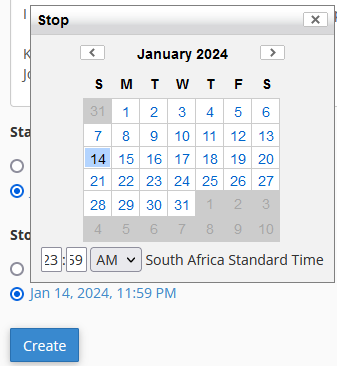
8. Click Create, Congratulations! you have completed setting up the Auto-response.